A dry creek bed is one of the best ways to solve a drainage problem and add natural beauty at the same time. The short version: dig a shallow, gently sloping channel, line it with a permeable weed barrier, set larger boulders and cobbles along the banks, then fill the channel with river rock—mixing sizes so it looks like a real streambed. Done right, it channels stormwater away from problem areas while looking like nature put it there.
This guide walks through materials, sizing, and installation, with the practical tips we share with customers planning one in Placer County.
Key Takeaways
- A dry creek bed both controls runoff and serves as a decorative feature.
- Mix rock sizes—boulders and cobbles for banks, river rock for the channel—for a natural look.
- Aim for roughly 2–3× as wide as deep (often 2–4 ft wide, 6–12 in deep).
- Always install over a weed barrier with a continuous slope to a safe outlet.
- For heavy water, add a buried perforated pipe to combine it with a French drain.
Materials You'll Need
| Material | Role |
|---|---|
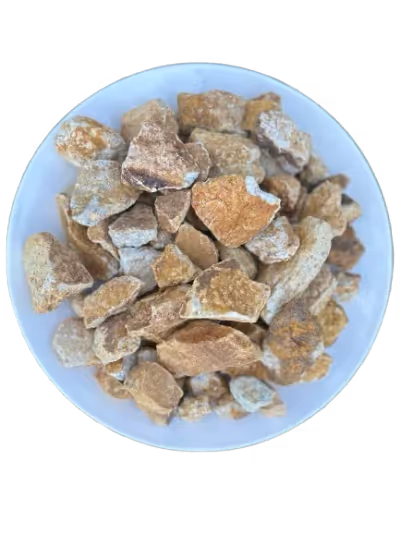
| Landscape boulders | Anchor points and focal stones along the banks |
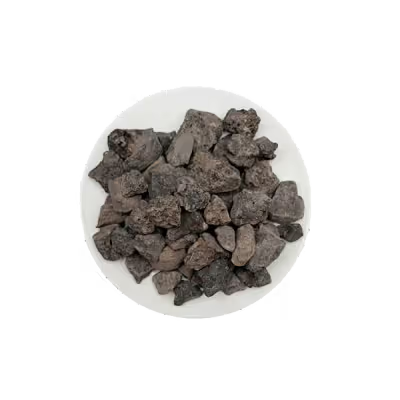
| Cobbles (3–8 inch) | Channel edges and bank structure |
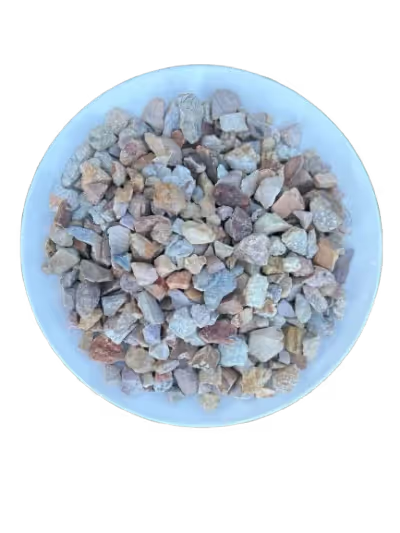
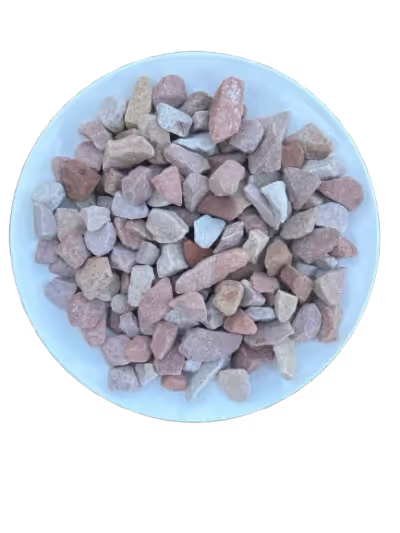
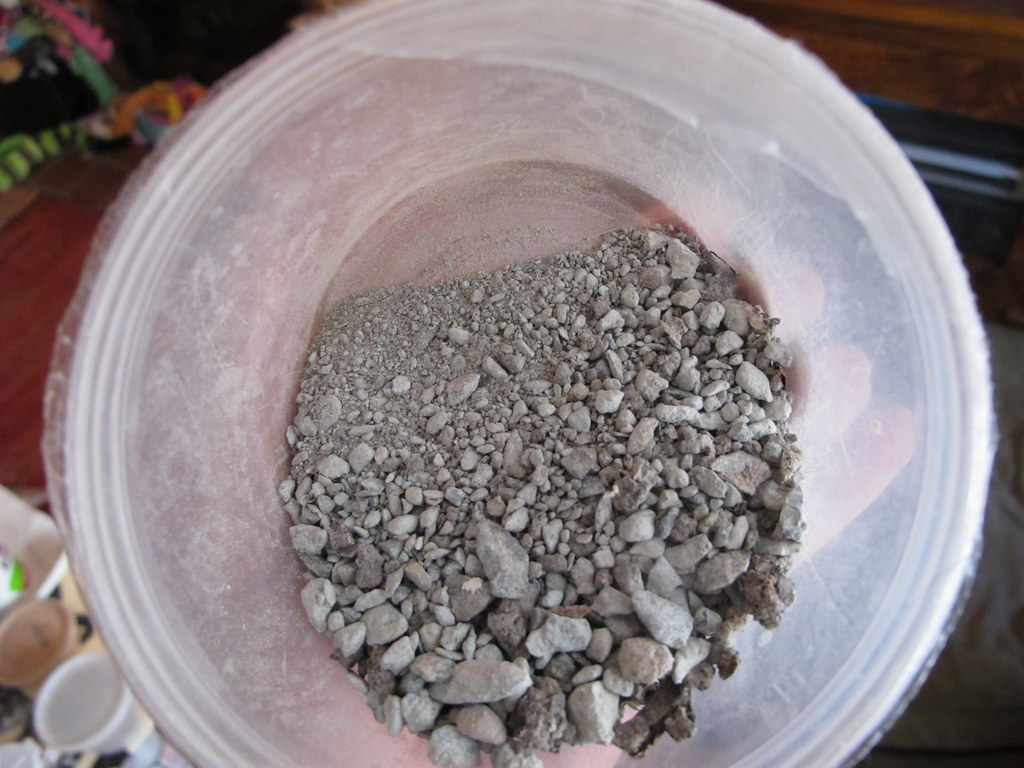
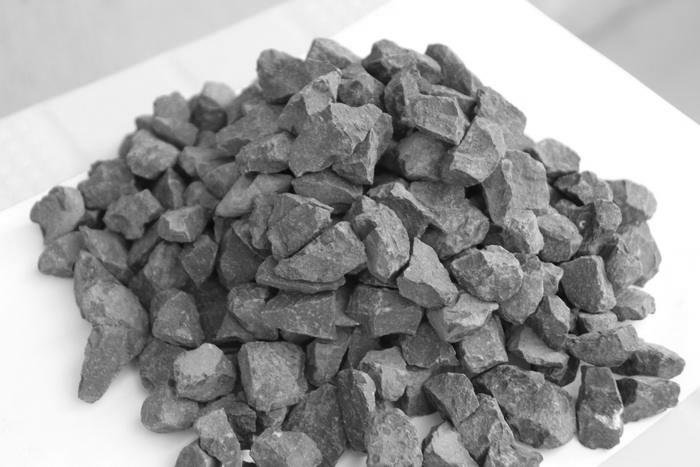
| River rock (3/4–2 inch) | Main channel fill |
| Smaller river rock or pea gravel | Transitions and gaps |
| Weed barrier fabric | Suppresses weeds, separates rock from soil |
| Optional: perforated pipe + drain rock | For subsurface drainage (French drain) |
Browse options on our Decorative Rocks page, and see using boulders for landscaping for placement ideas.
Step-by-Step Installation
Step 1: Plan the route and size
Trace the natural path water already takes, or the route from a downspout/low spot to a safe outlet (a swale, drain, or area that can handle runoff—never your neighbor's yard). Make the bed 2–3 times wider than it is deep, and vary the width slightly along its length so it curves like a natural creek rather than a straight ditch.
Step 2: Dig the channel
Excavate a shallow, U- or saucer-shaped trench—typically 2–4 feet wide and 6–12 inches deep for a residential bed. Maintain a continuous downhill slope (about 1% minimum, roughly 1 inch of fall per 8–10 feet) so water keeps moving. Pile the spoil to build up the banks if helpful.
Step 3: Lay the weed barrier
Line the channel with a permeable weed barrier, overlapping seams by several inches and pinning it down. This blocks weeds and stops the rock from disappearing into the soil, while still letting water drain through.
Step 4 (optional): Add a buried drain
If you're fighting real subsurface water, lay a perforated pipe wrapped in filter fabric in the bottom and surround it with clean drain rock before the decorative layer. This turns your feature into a working French drain. See base rock vs. drain rock for which stone to use.
Step 5: Place the large stones first
Set boulders and larger cobbles along the banks and at curves first, burying the bottom third of boulders so they look settled and natural. Cluster stones in odd-numbered groups and vary their sizes rather than spacing them evenly.
Step 6: Fill the channel
Fill the center with river rock, then scatter smaller stones and pea gravel to blend the transitions. A natural creek sorts stone by size, so concentrate larger rock where water would move fastest (the center and outside of curves).
Step 7: Refine and finish
Step back, adjust stone placement, and add a few plants along the banks—ornamental grasses or drought-tolerant perennials soften the edges and reinforce the natural look. For ideas, see our drought-tolerant landscaping guide.
Common Mistakes to Avoid
- A straight, uniform ditch. Real creeks curve and change width—vary both.
- Evenly spaced, same-size rock. Cluster and mix sizes for realism.
- Skipping fabric or edging. Weeds and sinking stone will undo your work.
- No real slope or outlet. Water needs somewhere to go; grade continuously to a safe discharge point.
- Rocks sitting on top of the soil. Bury boulder bases so they look anchored.
How Much Rock Will You Need?
Estimate the channel area (length × average width), use about 3–4 inches of depth for the fill rock, and divide by 324 for cubic yards—then add extra for the boulders and cobbles placed on top. Our material estimator and how-much-rock guide make this quick. Remember that rock is heavy—about 1.2–1.5 tons per cubic yard—so delivery is usually the way to go.
Related Resources
- River Rock, Cobbles, Boulders, and French Drain glossary entries
- River Rock vs. Pea Gravel
- Base Rock vs. Drain Rock
- Using Boulders for Landscaping
- Shop Decorative Rocks · Delivery & Rates
Conclusion: Function That Looks Beautiful
A well-built dry creek bed handles runoff and becomes a year-round focal point with almost no maintenance. Plan the route and slope, build over fabric, place big stones first, and mix your sizes for a natural result.
Tell us your channel dimensions and we'll help you size the rock. Contact us or call (916) 783-9177—we deliver river rock, cobbles, and boulders throughout Roseville and Placer County.